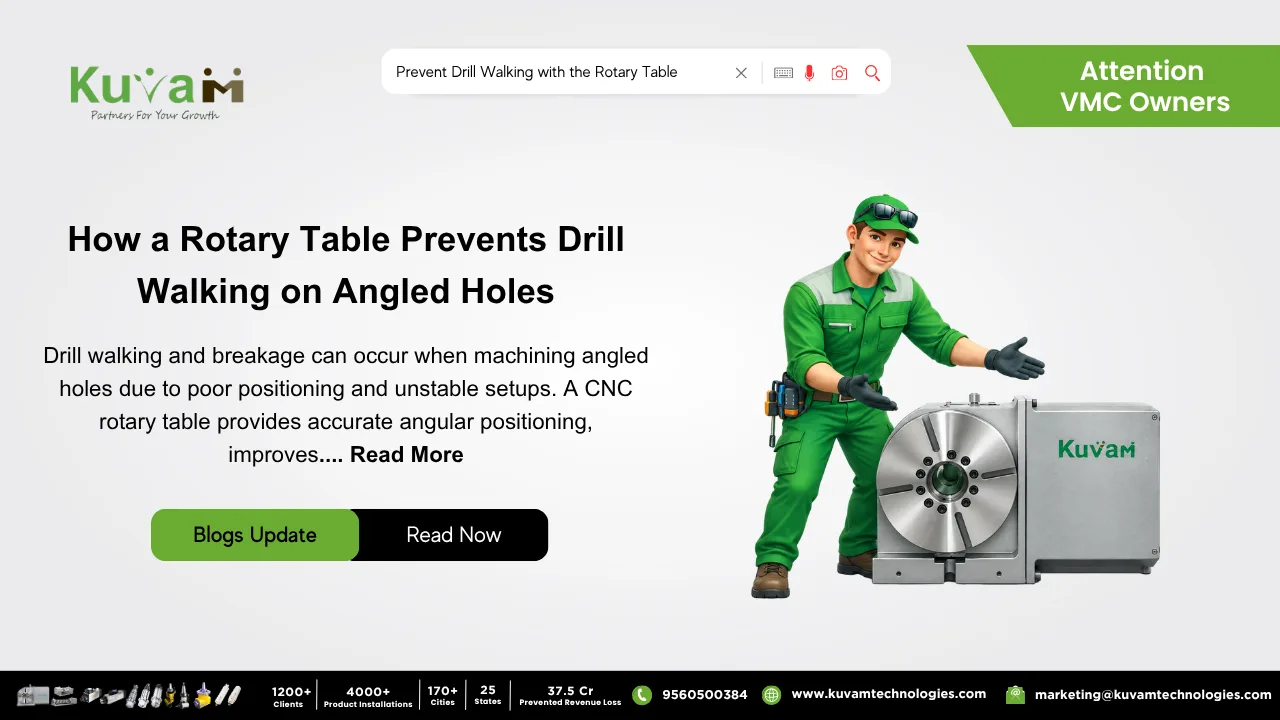

The Rotary Table makes sure that angled holes are drilled perfectly. A drill bit wants one thing above everything else: to start its cut on a surface that’s dead perpendicular to it. Give it that, and even a basic twist drill will bite in cleanly and track straight down. Ask it to start on a surface that’s tilted even a few degrees off perpendicular, and it does something else entirely so it skates sideways before it ever gets a proper bite, wanders off the intended center, and on a bad day, snaps off in the hole because the flutes are trying to cut unevenly on one side before the other.
Anyone who’s machined an angled bracket or a shimmed-up casting has run into this. The print calls for a hole perpendicular to some tilted face, the part gets propped up at roughly the right angle using packing or a tilting vise, and the first hole either walks off location or takes out a drill before the operator even finishes the pilot. More often than not, the fix a shop eventually settles on is a rotary table, not a different drill geometry or a steadier hand.
Why Angled Starts Are So Hard on a Drill
A standard twist drill relies on both cutting edges engaging the material evenly and at the same time. On a perpendicular surface, that happens naturally because the point contacts flat material on both sides simultaneously, and the drill centers itself before it starts removing material in earnest. On an angled surface, one edge of the drill touches down before the other. That uneven initial contact pushes the tip sideways, away from where it was actually supposed to enter, before the hole has even really started. This is where the Rotary Table comes in.
Shops try to work around this with a few familiar tricks: starting with a stubby center drill to establish a location first, propping the part up on shims or an adjustable angle plate to get it roughly perpendicular, or just accepting that the first few thousandths of every angled hole are going to wander a little. All of these help somewhat. None of them fix the actual cause, which is that the surface isn’t truly perpendicular to the tool in the first place.
What a Rotary Table Changes About This
A Rotary Table, especially a tilting version, solves this by presenting the surface itself at the correct angle relative to the spindle, rather than trying to compensate for a tilted surface with a stationary tool. Instead of propping a part up on shims and hoping the angle holds while clamping force gets applied, the part gets fixtured to the table, and the table itself rotates or tilts the surface until it sits truly perpendicular to the drill.
Once that surface is genuinely perpendicular, the drill behaves the way it’s supposed to. Both cutting edges engage evenly from the first moment of contact, the tip centers itself properly, and the hole starts exactly where the program says it should, without a center drill needed just to fight off an angled start. The angle problem gets solved before the drill ever touches the part, instead of being worked around afterward.
Why This Matters Beyond Just Avoiding Broken Tools
Broken drills are the obvious cost, and they’re not a small one because a snapped bit stuck in a partially finished hole can turn a straightforward job into an extraction headache that eats far more time than the drilling itself would have. But even holes that don’t outright break a tool often come out slightly off-location or slightly oversized from the initial wander, which matters a lot on parts where that hole has to line up with a mating component.
A rotary table removes both problems at the same root cause. Because the surface is genuinely square to the tool before cutting starts, there’s no initial off-center contact to correct for, which means fewer broken tools and holes that land exactly where the print intended, not wherever the drill happened to settle after skating across an angled face.
Where This Comes Up Beyond Brackets
This isn’t limited to one type of part either. Castings with as-cast angled bosses, weldments with faces that were never perfectly square to begin with, and any bracket needing a hole perpendicular to a tilted mounting surface all run into the same wandering-drill problem. In every one of these cases, a rotary table solves it the same way: by correcting the part’s orientation before the tool ever touches it, rather than asking the drill to fight through an imperfect starting angle.
What This Looks Like on an Actual Part
Take a bracket that needs a hole drilled perpendicular to a face angled 20 degrees off the base. Propped up on shims in a standard vise, that hole often needs a center drill just to survive the first moment of contact, and even then, a slightly imperfect shim angle can leave the hole a hair off true. Fixtured on a tilting rotary table, the table rotates the part until that 20-degree face sits perfectly perpendicular to the spindle, and the hole gets drilled the same way any straightforward, flat-surface hole would, with no wandering, no center drill required just to survive the entry.
Worth a Look If Angled Holes Keep Giving You Trouble
If your shop regularly fights broken drills or off-location holes on angled surfaces, it’s worth asking whether the real issue is the tool, the material, or simply the fact that the surface was never truly perpendicular to begin with. A rotary table particularly a tilting one, fixes that at the source, turning an angled hole back into the same predictable, reliable operation a perpendicular one always was.